

 Tom Dewar
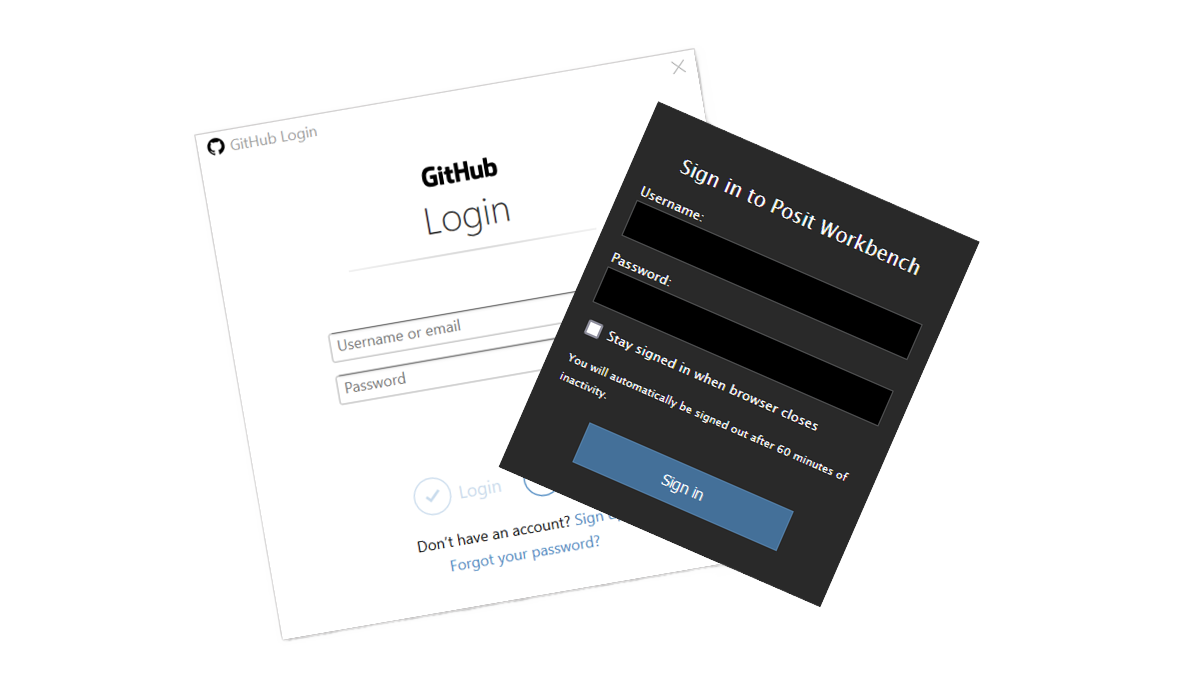
Connecting Posit Workbench (RStudio) to GitHub with HTTPS
If you're an RStudio user using Posit Workbench and want to use GitHub for source control (you should), this is the guide for you. There are two ways...
If you're an RStudio user using Posit Workbench and want to use GitHub for source control (you should), this is the guide for you.
There are two ways to connect: SSH and HTTPS. Named for the different protocols they use under the hood. If your company IT department recommend one over the other, you should follow their instructions on how. If they don't, or those instructions don't help, read on.
Whilst SSH is considered the gold standard way to connect, it is more finickity to set up. For most users - especially newer ones - it is easier to set up an HTTPS connection. Which is what we are going to walk through in this post.
The steps described are for those using RStudio as part of Posit Workbench, but the steps are almost identical if you are using RStudio Server or a locally installed version of RStudio.
The following steps will get you up and running with an HTTPS connection between Posit Workbench (RStudio) and GitHub.
Specific step instructions are presented as bullet points under each section. You should work through them in the order given.
Before you start, you'll need a few things in place.
To connect to GitHub using HTTPS you will need to set up a Personal Access Token (PAT) from GitHub, then configure RStudio to use this.
Think of a PAT as a long and complex password that is generated for you. One that is used for a single purpose and that you will only have to enter once, when you set up the connection.
Once you have registered your GitHub-generated PAT in RStudio, it will remember these credentials between sessions. Meaning you should only need to repeat these steps if / when you change your PAT code. (Which we recommend you do at least once per year.)
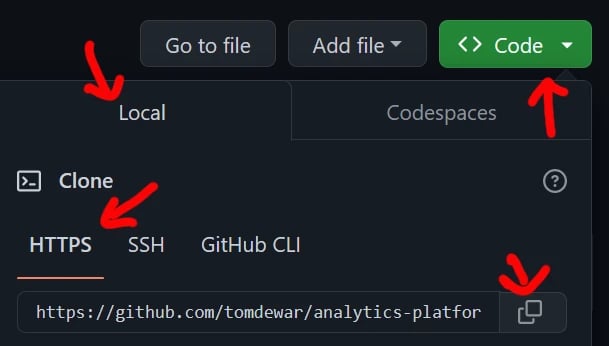
https://github.com/settings/apps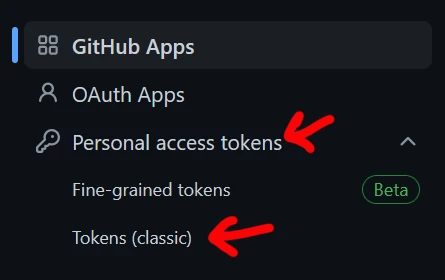
You will be taken to a page which lists any personal access tokens you have previously created, with options to delete existing tokens or create new ones.
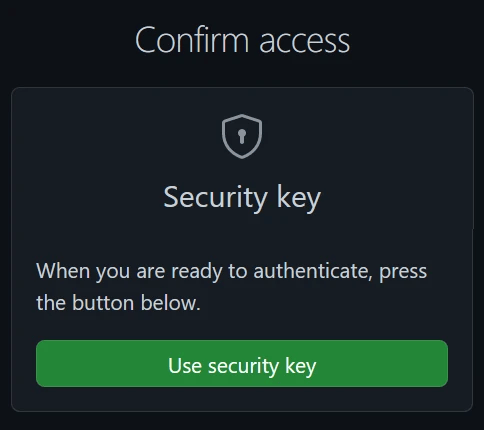
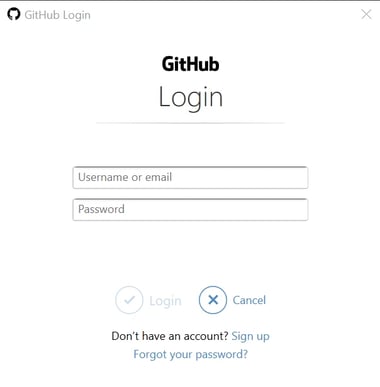
At this stage you may be prompted to confirm your access. If so, follow the instructions to do so. The process may vary slightly depending upon what security you have set up on your GitHub account. The screenshot below is as seen by an account with a Security Key used as second factor authentication.
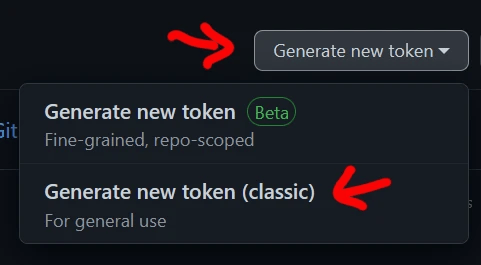
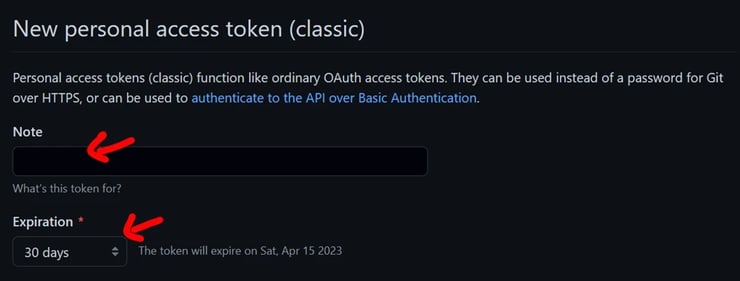
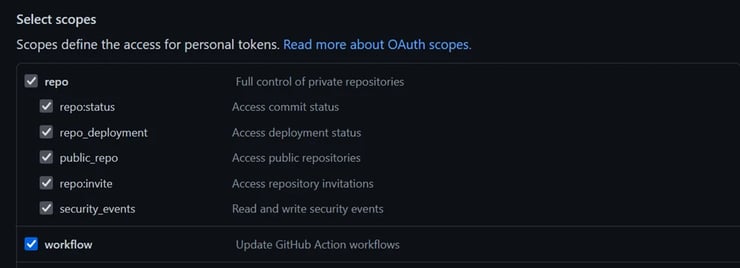
You will then be presented with a form-style page asking for some details for your new Personal Access Token.


You will be returned to the screen listing all your Personal Access Tokens. The one you've just created and any others you had already.
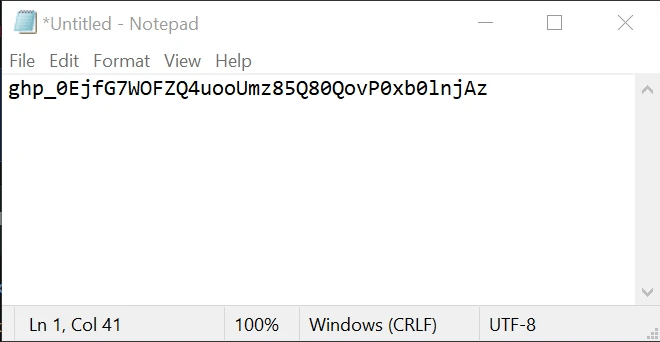
The PAT you've just created will be first on the list and you will see the actual code: a fairly long garbage-looking set of characters and numbers. This is the only time you will see this token displayed in GitHub. For security reasons, after leaving this page you will not be able to see the token again, only its labelled name listed with an option to delete it.
We recommend opening the Notepad application in Windows (or the equivalent on MacOS). Paste the code into the Notepad widow, but don't save it to a file. Just keep Notepad open until you complete the remaining steps below – so you can copy the PAT again, if necessary, should you mess up. Once you are set up, close Notepad without saving.
If you want to keep a permanent copy of the PAT code, store it in a secure password manager like LastPass or 1Password. Though there is really no need. You should not re-use this PAT for anything else. If you find yourself needing another PAT code - perhaps for a local RStudio installation on a home PC - you should create a fresh one specific to that purpose.
Do not save your PAT code to a file or write it on a post-it, and don't share it with anyone else.
install.packages("credentials")credentials::set_github_pat()


If everything has worked, you’ll be launched into a copy of the project in RStudio and should notice a "Git" tab in the top right pane (on the default RStudio layout).
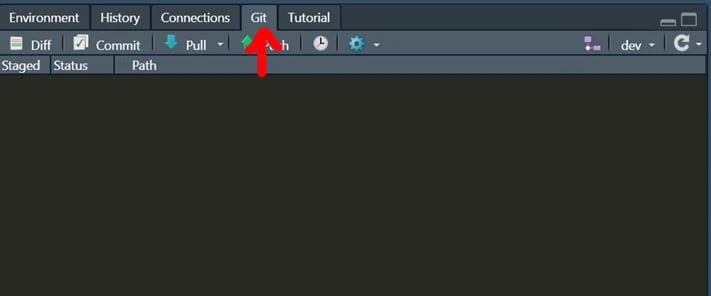
This gives you a point-and-click interface to perform the most common Git actions (e.g. making commits, pulling and pushing to sync with GitHub, creating and switching branches).
git statusYou should see something like the image below. If you do, everything is good.
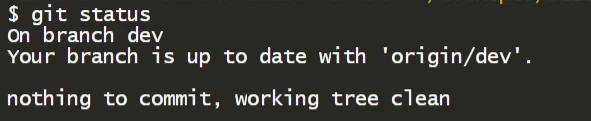
You are now ready to start using Git to manage your R code.
If you're still stuck, book a free 15 minute video help call and we'll help you implement this in practice.
If you're an RStudio user using Posit Workbench and want to use GitHub for source control (you should), this is the guide for you. There are two ways...

Many companies investing in data analytics struggle to achieve the full value of their investment, perhaps even becoming disillusioned. To understand...

We are cursed to live in interesting times. As I write this, a war in Ukraine rumbles on, we sit on the tail of a pandemic and at the jaws of a...